Hey there, how was your holiday? Did Santa bring you everything you wished for? Santa was good to me and I got one of the cookbooks that I had been dreaming of – I guess those cookies worked!
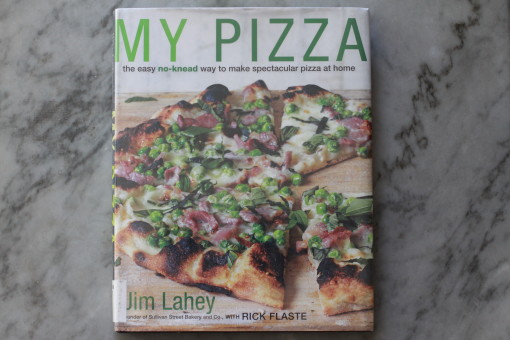
The book is “My Pizza” by Jim Lahey. I first heard about this book from the food blog Elra – when I clicked over and saw her pictures, well, I had to check it out myself.
Now before you say, “I don’t make pizza, I buy it” – well, let me just say…look at this:
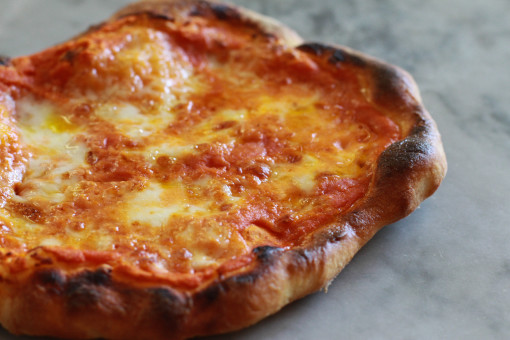
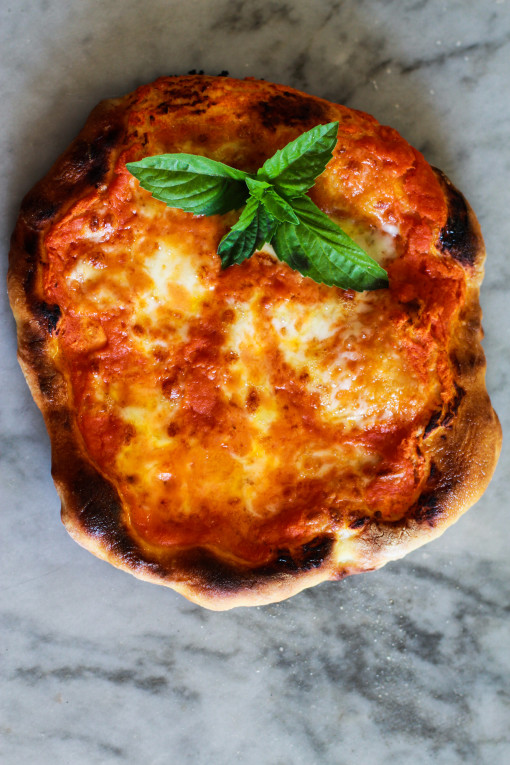
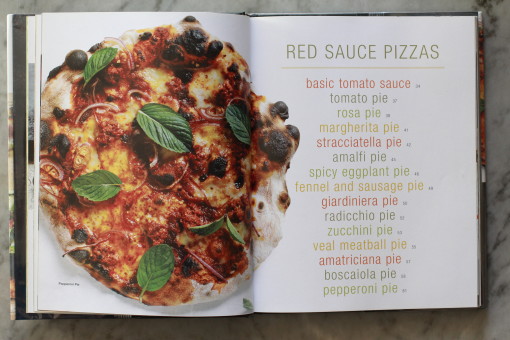
Ooh, ahh, margarita pizza. With crispy crust and creamy mozzarella topped tomato sauce…and then look at this:
Yum-yum, right? Did your stomach growl just a bit? How about this….
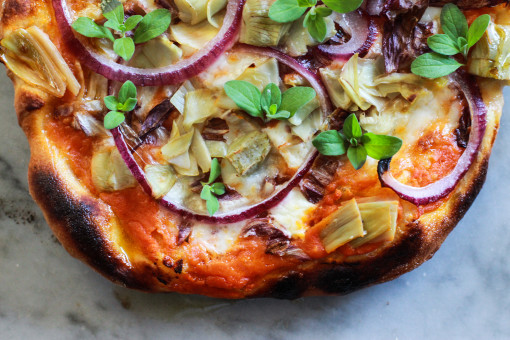
That’s right – this one is loaded with baby artichokes, radicchio, oregano and red onion – it’s almost health food. And, bada-bing…
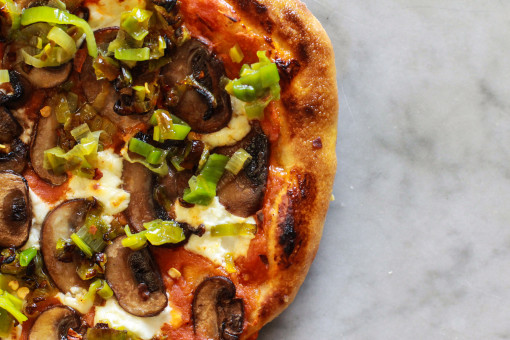
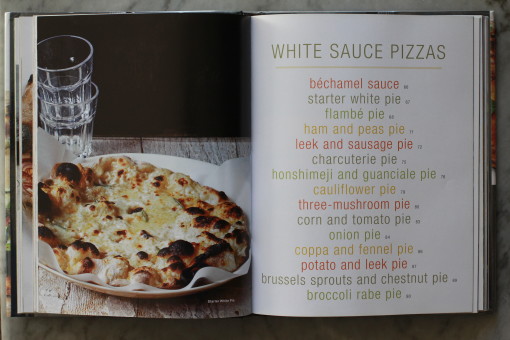
Roasted mushroom and leeks with goat cheese on that chewy and crunchy crust. Delicious!!
When I first saw this book I had a few issues. First, I wanted to eat the pages. The pictures are amazing! Good thing they aren’t accompanied by any scents like the cologne samples in the magazines or I’d really be in trouble. Second, after moving so many times I had long ago given away my pizza stone and I didn’t want to go buy another one. So I figured that I would just look at the pages and drool, and then order a take-out pizza.
But then I read the introduction and I had hope. I could make the pizza without a pizza stone and just needed a flat surface that would hold heat – enter my cast iron skillet. I also didn’t have a pizza board anymore, so I used the underside of a rimmed baking sheet and the pizzas came out perfect.
These pizzas you see above were the second time I made this recipe. The first time was a “practice round” which smelled sooo good we were standing around the oven just waiting for the pizza to finish. Then when we pulled the crispy, bubbling pizza out of the oven we both burned the roof of our mouths because it was sooo good we couldn’t wait for it to cool down from the cheese-is-like-molten-hot-lava stage. The crust is the best part and I will definitely make these pizzas again but also the crusty flatbread would be great with some roasted garlic spread or even some hummus with a nice glug of really good olive oil.
Jim Lahey’s pizza making method
Place a pizza stone (or upside-down skillet) on the center rack of your oven. Turn your oven on to 450 degrees and leave it on for 30 minutes to fully heat the stone (or skillet.) After the 30 minutes, turn your oven from bake to broil and broil the surface of the stone (or skillet) for 10 minutes. When you are ready to cook your first pizza, stretch it out and place it on a floured pizza board (or upside down baking sheet) and add your toppings. Carefully slide your pizza to the stone (or skillet) and close the oven door. Broil the pizza for 7 – 10 minutes, watching it to make sure it doesn’t burn. Once the cheese is bubbly and the sides are nice and crispy, remove from the oven – careful not to burn the roof of your mouth!
my notes: The dough is really forgiving. If you can’t get the pizza onto the stone/skillet in one fail swoosh – use a spatula to scoop it and move it to where you want it to cook. If your oven is like mine and the broiler turns off after about four minutes, just prop the door open to let some of the heat out. The broiler will come back on as soon as the sensor notices the door is open, then you can close the door and continue cooking your pizza. You might have to do this a few times but it’s completely worth the hassle.
Jim Lahey’s pizza dough
500 grams (3 3/4 cups) all purpose flour, plus more for shaping the dough
1 gram (1 tsp) active dry yeast
16 grams (2 tsps.) salt
350 grams (1 1/2 cups) water
In a medium bowl, thoroughly blend the flour, yeast, and salt. Add the water, and, with a wooden spoon, mix thoroughly.
Cover the bowl with plastic wrap and allow it to rise at room temperature until it doubles in size. (It will take longer in a chilly room and less time in a very warm one – mine took six hours)
Flour a work surface and scrape out the dough. Divide it into four equal pieces (if you are using a skillet, divide the dough into eight pieces) and shape them. For each portion, start with the right side of the dough and pull it toward the center; then do the same with the left, then the top, then the bottom. Shape each portion into a round and turn seam side down. Mold the dough into a neat circular mound. The mounds should not be sticky; if they are, dust with more flour.
If you don’t intend to use the dough right away, wrap the balls individually in plastic and refrigerate for up to 3 days. Return to room temperature by leaving them out on the counter, covered in a damp cloth, for 2 to 3 hours before needed.








Leave a Reply