Most of you know I have two little kids at home with me. The oldest is 5 going on 12 and although I love everything about this kid, I totally love how he likes to try new food and whatever new recipes I happen to be making on any given day.
I’m sure it’s the same with every parent that has a hobby or career that they enjoy – they feel a big sense of pride and excitement when the kids (1) figure out what you do with all of your free time and (2) can’t wait to participate with you. Avery’s always been a really healthy eater even from the get go. He was covered in beets and butternut squash long before macaroni and cheese made it to his plate, and although he does eat m&c on a pretty frequent rotation now…well, he would be just as happy to eat everything in the vegetable bin and call that dinner too.
The fun times with Avery in the kitchen have started pretty recently. When he sees me cooking something or setting up for a picture taking session, he immediately rushes over and wants to help/eat whatever it is that I’m currently working on.
Just this week I made an end of summer corn chowder. I started by crisping up some bacon on the stove and after a few sniffs, here comes Avery asking to see what I’m doing. So I lifted him up and let him stir the bacon bits around the pot for a few minutes, explaining how they were getting all brown and crispy and what they would taste like when they were done cooking. Before I could offer him a taste, he asked for a bacon bit to try. First smelling it, then licking it – seriously, like he’s a food critic or something – he finally took a bite. He gave me a few “yums” and promptly asked me, “can I please have a whole bowl for myself?” I laughed and gave him another couple of bacon bites and then sent him on his way because those bacon bits were heading for the chowder after all.
It’s exciting to see such a little kid be into trying new foods. He’s found out what spicy means by trying the black pepper that sits on the counter, he knows that the grapefruit isn’t as sweet as an orange but he loves it just the same, and he will always, always, try a bite of whatever it is that he’s never eaten before – and that makes me a very proud mama. Now to work on the little sister, who is more than happy to have m&c everyday of her life…
Even though the kids have different eating patterns, one of the things that both my kids love to do is play with food. Whether it’s trying to peel a carrot, stirring a pot on the stove, or getting their hands messy making a cake, they are the first ones at the counter with their sleeves rolled up and a smile on their ready-to-help face.
Enter these pull-apart dinner rolls.
I was looking around for a quick and easy dinner roll that I could make in about an hour – because that’s all the time I had, plus there’s nothing better than freshly baked bread coming out of a hot oven around dinner time – amiright?! So off to the pantry I went to pull out the flour and the yeast, and oh, hello Avery and Whitney standing right behind me and asking me “can I help?” really so quickly I barely had time to set the flour bin on the counter…
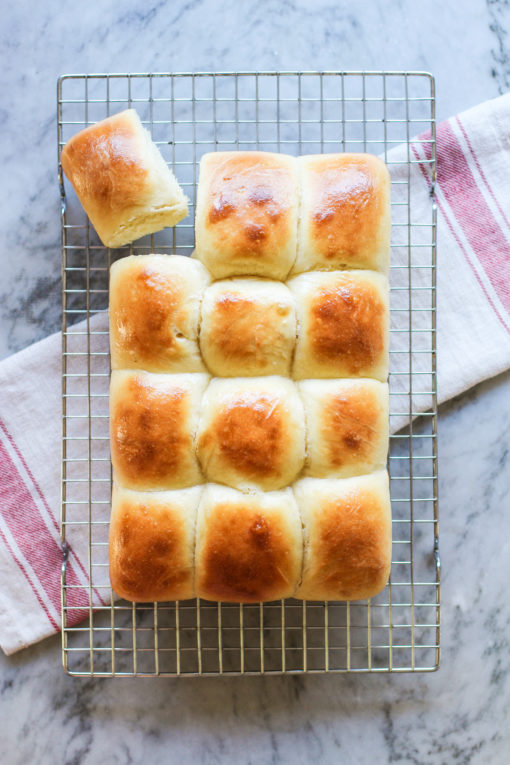
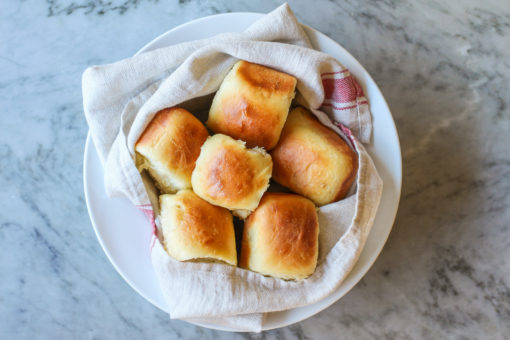
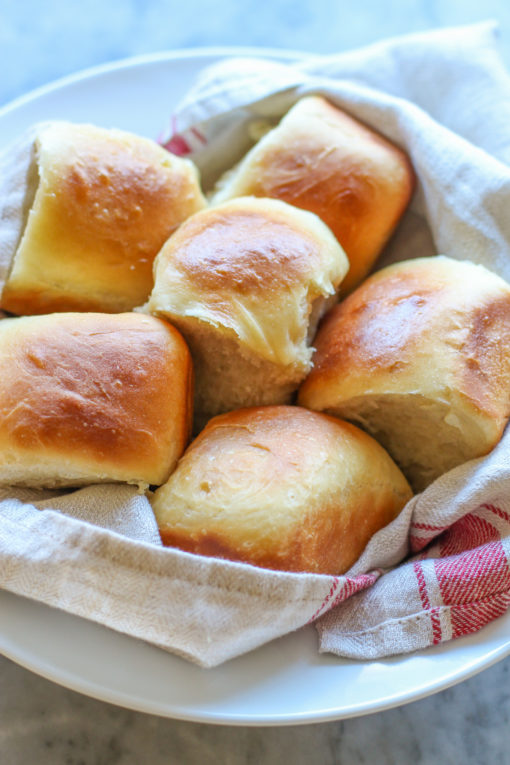
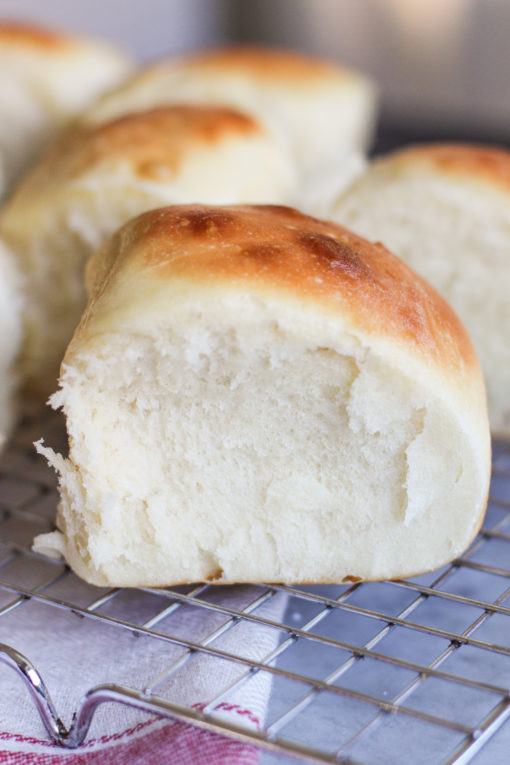
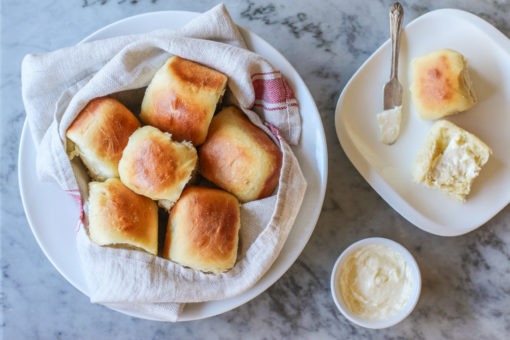
So we made these rolls as a family project. Sure we spread a little too much flour on the counter (and the floor, and maybe on our clothes), we stirred when we were supposed to wait, and we even punched the dough down in the bowl and into our hair somehow (really? how?) and you know what happened?! We had a blast AND these rolls turned out perfect. Perfectly soft pull apart dinner rolls, with browned tops and fluffy centers, just waiting for a slather of butter.
Of course we didn’t wait until dinner time to eat them – the kids were so excited to have made these themselves (well, they think so anyway) that they immediately grabbed a roll off of the cooling rack and took a big bite – huge smiles on their faces, proud of their accomplishment. And so was the mommy. It was a trifecta – family time, dinner time, and deliciously perfect pull apart rolls that make everyone smile.
Thank goodness for small victories. 🙂
XO,
Jenn
pull apart dinner rolls
recipe slightly adapted from Recipe Tin Eats
makes 12 rolls
1 tablespoon dry yeast
2 tablespoons honey
1/2 cup warm water
4 cups bread flour, plus more for dusting
1 1/2 teaspoons salt
1 cup lukewarm milk
3 tablespoons unsalted butter, melted and cooled plus 1 tablespoon butter melted for brushing over the top of the rolls
2 eggs, at room temperature, beaten with fork
1 cup room temperature water
1 tablespoon extra virgin olive oil
In a stand mixer fitted with the dough attachment, place the yeast and the sugar in then bowl, then pour in water, stir with a spoon and let sit for 5 minutes.
Add flour and salt to the yeast mixture. With the mixer running, add the milk, butter, and eggs and mix until thick and sticky. If the dough is not sticking to the sides of the bowl, add a few tablespoons of water to the running mixer until your dough becomes sticky.
Once the dough is ready, remove the paddle attachment and remove the bowl and the dough from the mixer stand. Drizzle the olive oil over the dough and using your hand, flip the dough around to coat it in the oil. Place one layer of plastic wrap (or a kitchen towel) over the top of the bowl and set in a warm place to rise for about 1 1/2 to 2 hours or until at least doubled in size.
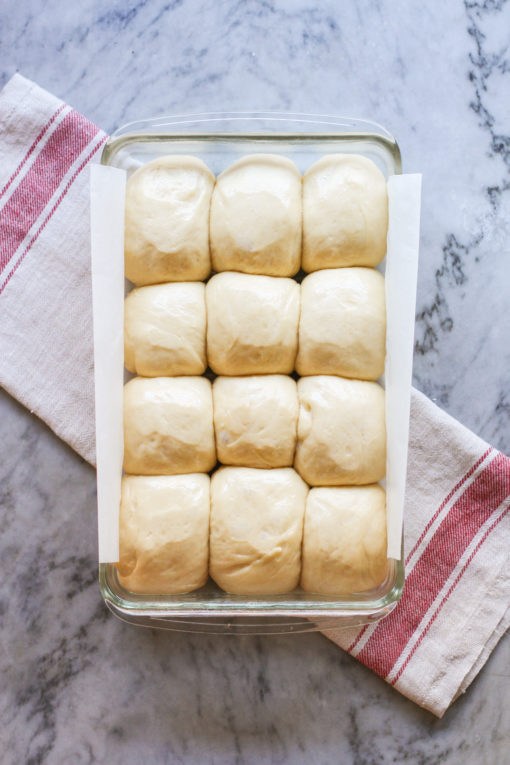
Line a 9 x 13 tray or casserole dish with parchment paper. Leave a slight overhang to the parchment paper as this will allow you to remove the rolls in one fail swoop.
Remove the top from the bowl and push the dough to deflate.
Dust your counter top with a little flour and place the dough on the counter. Shape the dough into a log. Cut log into roughly 4 equal pieces, then cut each piece into 3 pieces, making 12 pieces in total.
Take one piece and press down with palm, then use your fingers to gather into a ball, flip (so smooth side is up) then roll the dough briefly to form a ball.
Place the ball with the smooth side up on the tray. Repeat with remaining dough. Line them up 3 x 4.
Spray surface of rolls with cooking spray, or rub olive oil over the tops, then place cling wrap over the tray. Return tray to warm place and leave for 30 – 45 min, until the dough has risen by about 75% (less than double in size).
Partway through the rise, preheat oven to 400 degrees. Remove the plastic wrap and place the tray into the oven. Bake for 15 – 18 minutes, or until the surface is a golden brown. Remove rolls from oven and brush with melted butter.
Use the parchment overhang to lift rolls onto a cooling rack. Allow to cool to warm before serving.
my notes: This is a very forgiving dough recipe so give it what you got – my kids tore into the dough while trying to roll them into balls and the rolls still turned out perfectly. If you need or want more guidance as to how to make these rolls, the original recipe post has a step-by-step tutorial, just click the link here.





Leave a Reply