When I was in high school I was jolted out of sleep almost every morning by the sound of the fire alarm going off in our kitchen.
My dad liked to eat toast for breakfast.
He would quietly sneak into the kitchen to turn on the broiler and set a piece of bread on the top rack of the oven.
Then he would walk away and get ready for work and completely and totally “forget” that the bread was in the oven.
At least that’s what he would tell me later, once the fire alarm had gone off and said teenager was running through the house with a water bucket in one hand and a cd Walkman in the other trying to find the source of the piercing mechanical scream.
(What? You didn’t sleep with a water bucket next to your bed when you were a teenager?)
My dad would laugh and smile, slightly embarrassed, and tell me that it was time to get up and get ready for school anyway so good thing I was up.
And then he would take his burnt (and I mean charcoal black burnt) toast and gaze at it lovingly while smearing it with jam or peanut butter or both.
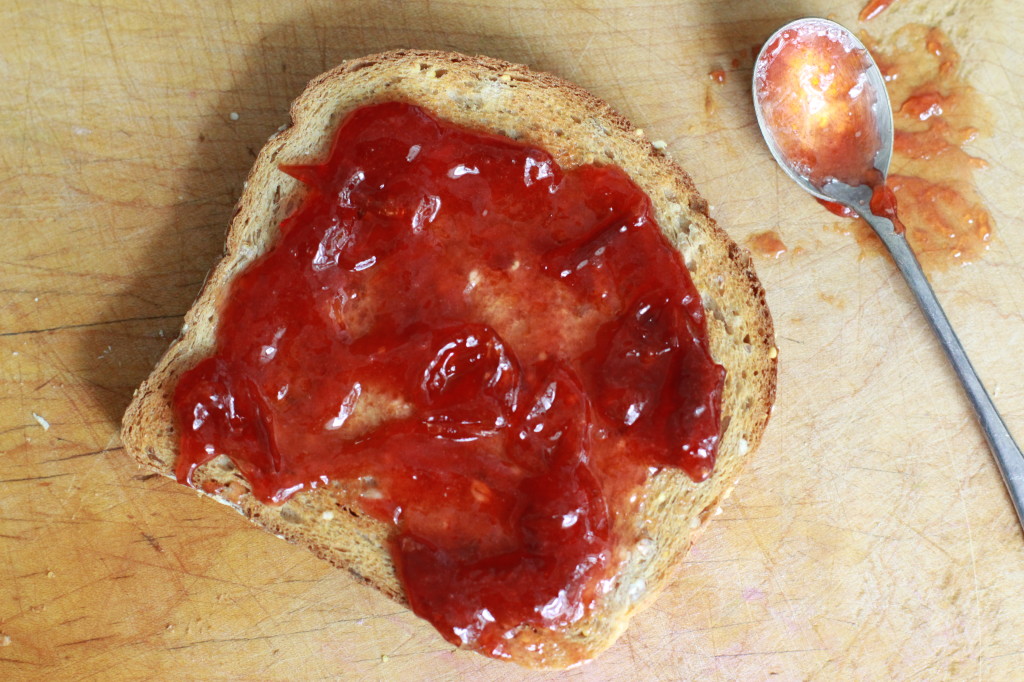
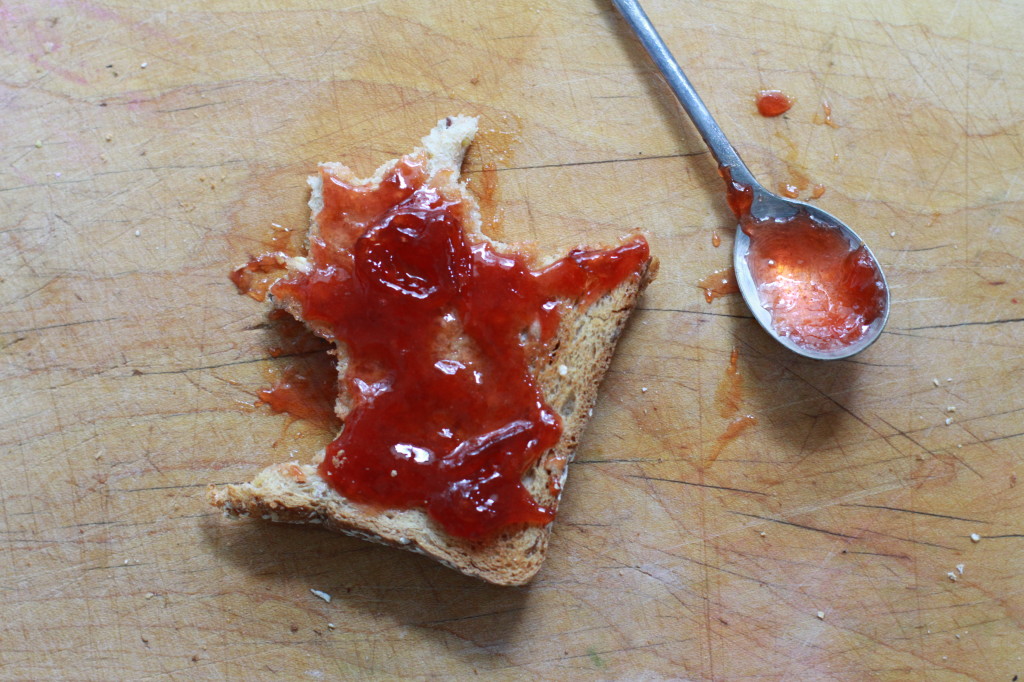
I went directly down memory lane this morning after making my (perfectly toasted) toast and spreading it with this delicious tangy/sweet cherry plum jam.
And I never thought to ask why he didn’t use a toaster….
Maybe the toast alarm was just a ploy to get a sleepy teenager out of bed…every…day….
cherry plum jam
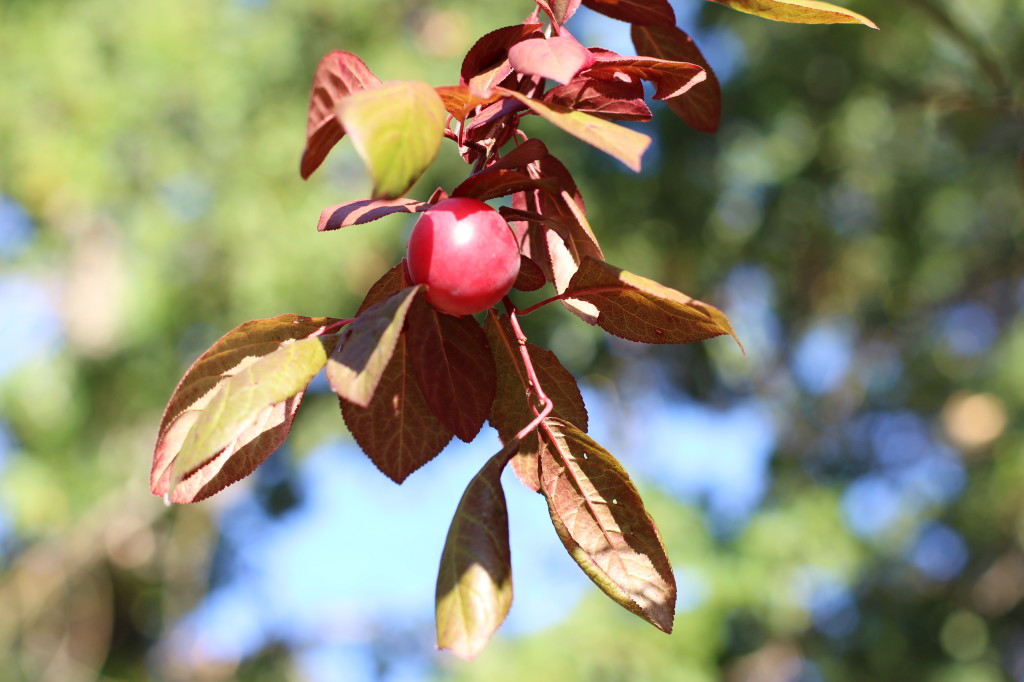
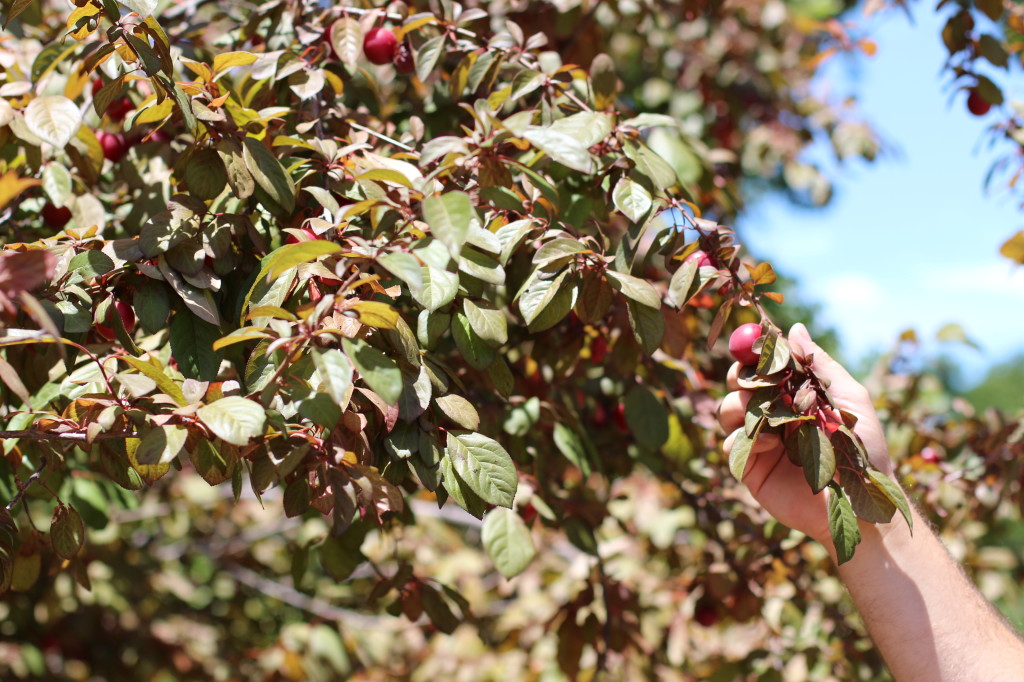
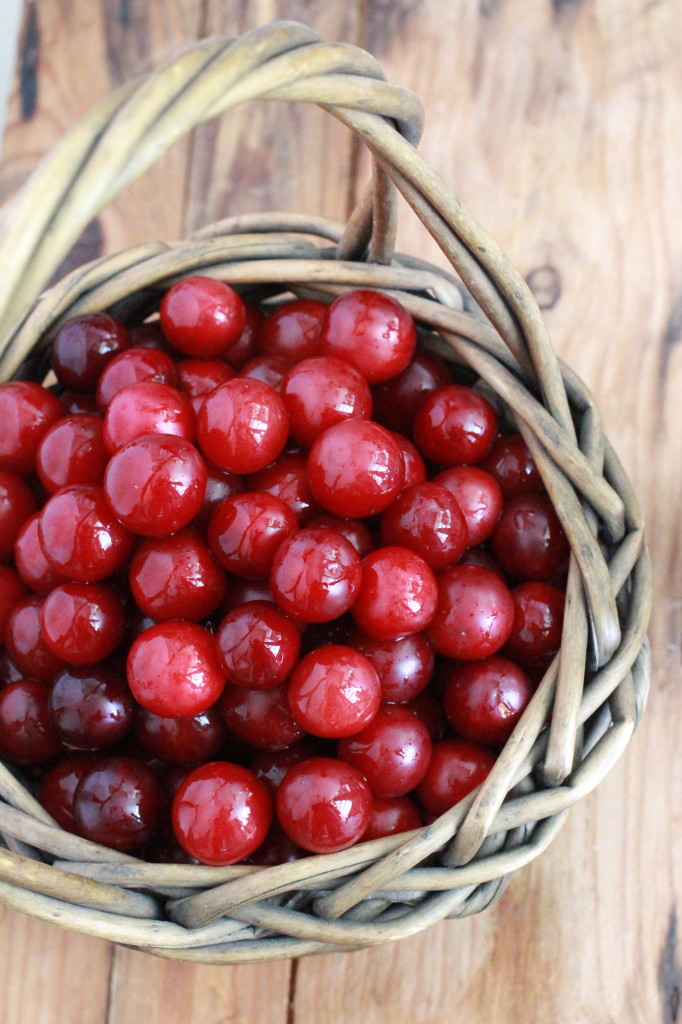
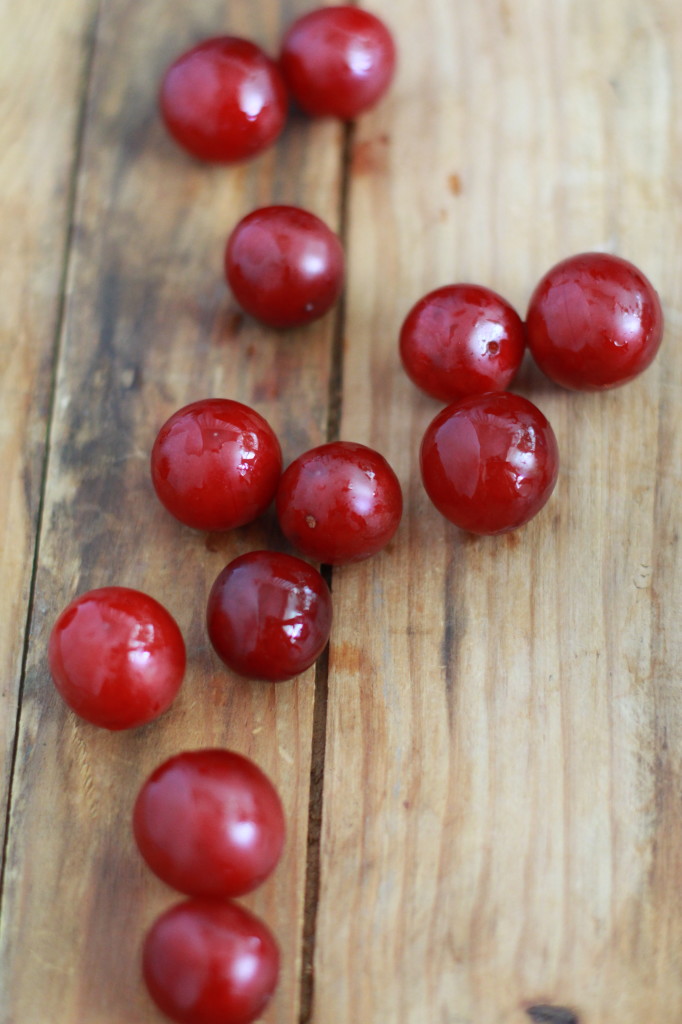
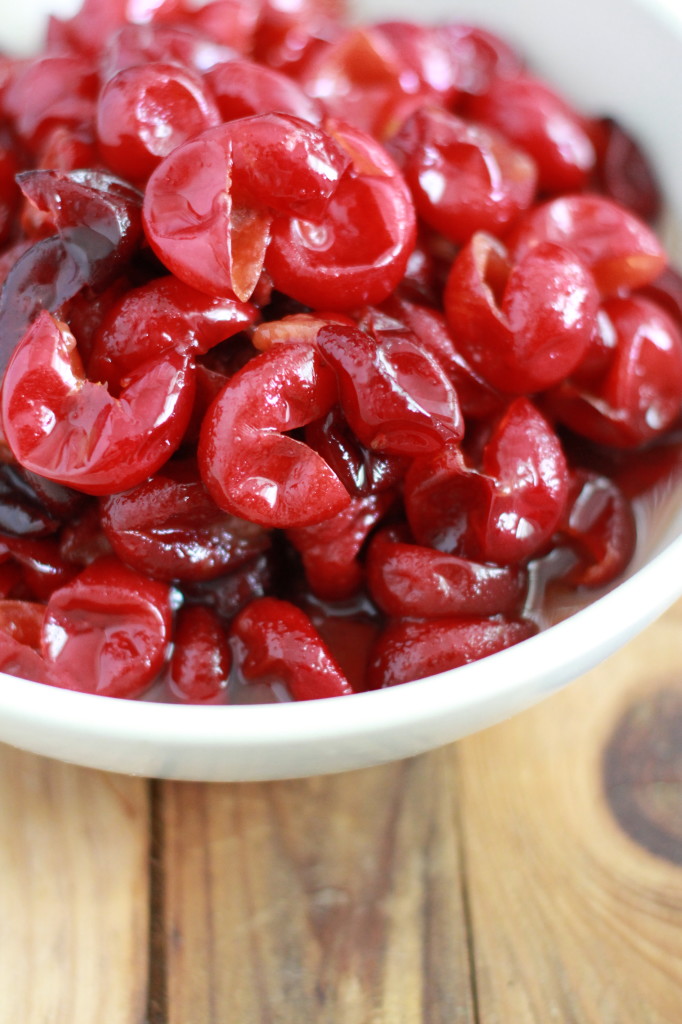
3 1/2 pounds of cherry plums, washed and pitted
1 1/2 pounds of granulated sugar
the juice of one lemon
Place a small plate in your freezer. You will use this to test the consistency of the jam.
If you will be canning your jam follow this next step: Fill a large stockpot with hot water and bring it to a boil over high heat. Once the water comes to a boil, add your jars, lids and rings to the pot. Let your water come back to a boil and process the jars for 10 minutes. Carefully remove the jars to a baking rack and let them cool while you make your jam. Leave the pot of water on low as you will need this again to process the jam.
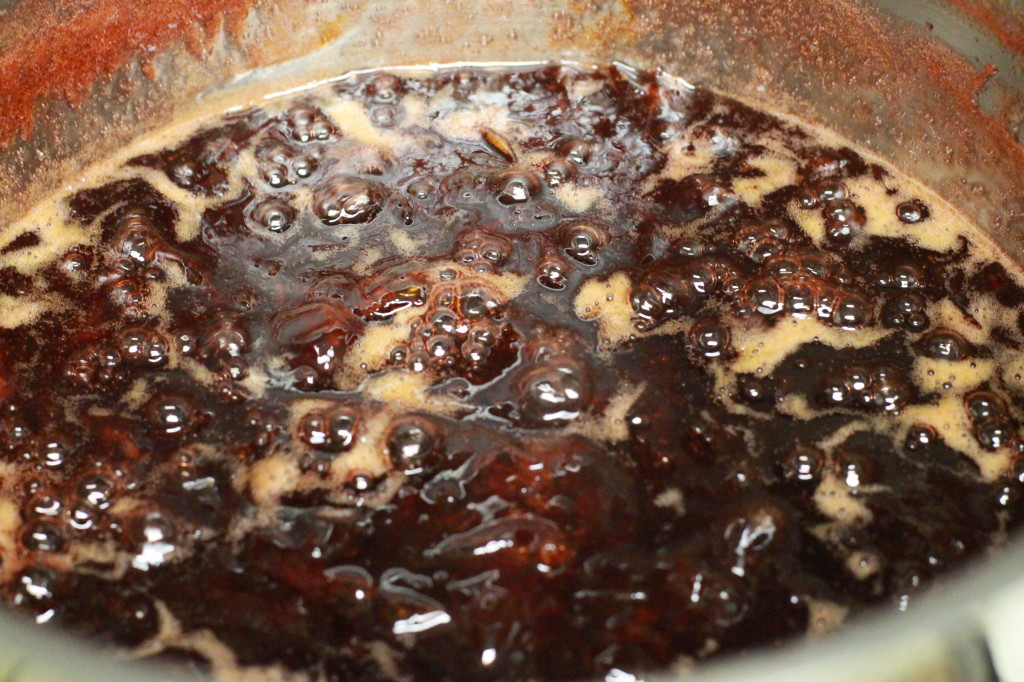
In a large, heavy bottomed pot, combine all ingredients over high heat. Bring the jam to a boil, stirring frequently so the fruit does not scorch on the bottom of the pan. About 30 minutes into the cooking process, your jam will have cooked down and started to thicken. Carefully using a clean spoon or metal measuring cup, skim the top of the jam to remove any impurities/foam that have boiled to the top.
About 45 minutes into the cooking process, your jam will be close to done. Take your plate out of the freezer and put a small spoonful of jam on the plate. Wait for a minute or so, and tip your plate sideways. If the jam runs to the other side of the plate, it needs to cook longer and you will need to repeat the plate test again. If your jam sits completely still or only moves slightly, your jam has completed the cooking process.
Once the jam is ready, ladle the jam into the canning jars leaving about 1/4 inch headroom. Tap the jars slightly to let any air bubbles rise to the top. Place lids and rings onto the jars, tightening just enough to close the jars (you will tighten more after the processing is complete.)
Bring your pot of water back to a boil. Once the water is boiling, carefully place your jars into the pot. Bring the water back to a boil and allow the jars to process for 10 minutes. Remove the jars and allow to cool. You should hear a “popping” noise as the lids seal closed. Once the jars are completely cooled, tighten the lids a little more.
Then, go into the kitchen and make some toast as this jam is too good to wait for!
Makes 6 half pints.
notes:
There are many versions of cherry plum jam out there in the universe. Some call for pitting and some do not – instead cooking the jam with the pits and straining everything later. As I wanted the skins in my jam to add a tangy note (plus I didn’t want to have to strain the jam), I pitted the plums before cooking the jam.







looks yummy
llove thoce cherry plums. And there zre heirloom varities in yellow as well.