Thank goodness it’s the weekend folks! I spent the entire day yesterday ferrying kids all over the place and I’m SO unbelievably happy to be home and not going anywhere today besides the backyard and the garden!!
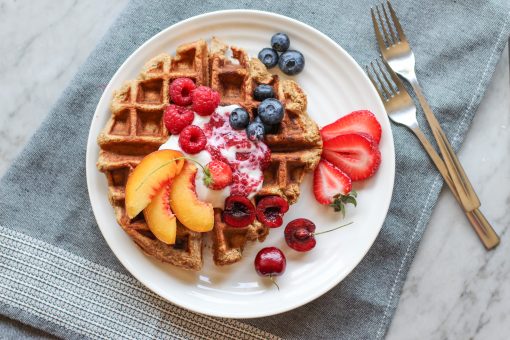
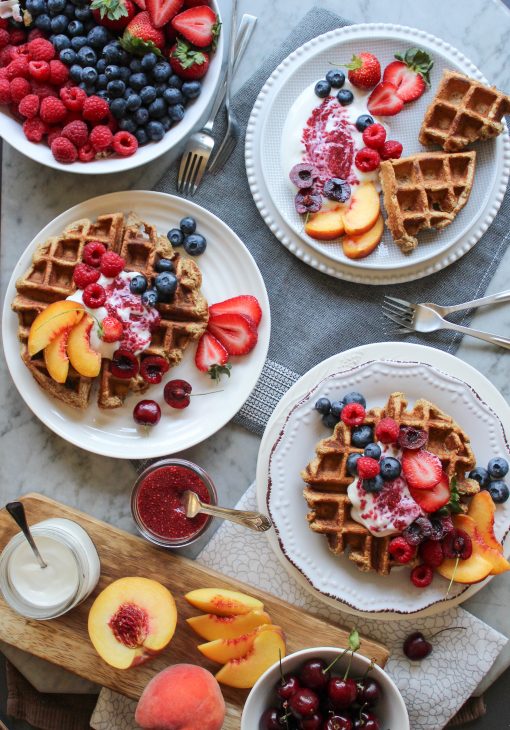
And in celebration of (1) the weekend and (2) me not crossing over the circumference of our property line, I made some waffles for breakfast!!! Yay!!
So here’s the deal – I’m totally not a waffle person. Don’t get me wrong, waffles smell delicious when they are being…um, waffled (??) but once I get a plate in front of me, it’s just really not my thing. And here’s why – most waffles are full of added sugar, white flour and tons of things that just don’t do anything extra for me but make me feel blah after the initial deliciousness is over. Add to that, maple syrup and zing, zang, zoom!! I’m running around like a crazy woman before the sugar crash comes!! And then….so…tired. No thanks!
Even though I can skip the waffle line, my kiddos can not. They ask for a waffle breakfast at least once a week (if not more!) and as I certainly try to accommodate their wishes, that little sugar high/crash hits my adorable cuties much harder than it hits me – and I don’t want to be anywhere near them when that happens, you know what I’m saying??!! Plus, anyone notice that they are hungry about five minutes after eating a waffle? There’s just no substance or protein in them to keep anyone satiated for a long period of time.
After so many crashes, I stopped making waffles. Basically, it wasn’t fun anymore, my kiddos were SUPER grumpy, and I didn’t enjoy making something I didn’t want to eat. But then summer came around and all of a sudden we have lazy mornings and time to play in the kitchen again. A couple of recipe tweaks later (including taking out that added sugar, adding some protein, and putting some Omega-3s inside) and we’ve got a healthy waffle recipe that this mom stands behind and that the kids will actually eat too!
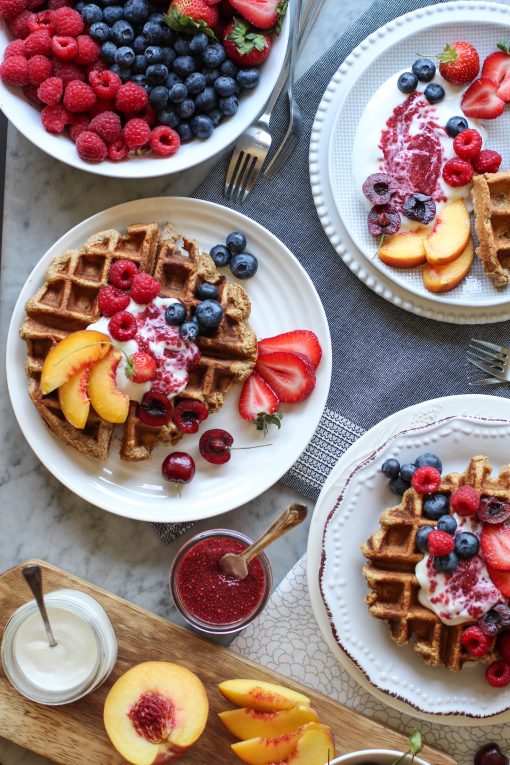
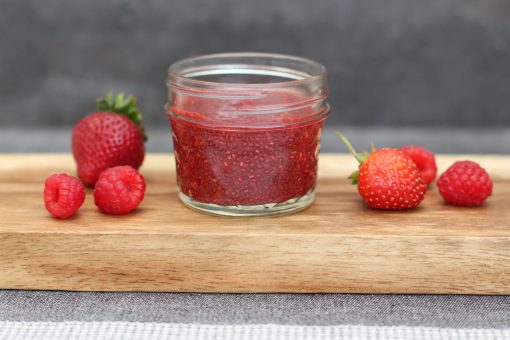
I even whipped up a batch of chia jam (recipe below) to substitute for the maple syrup drizzle but that was pushing it with the kiddos. They will eat a couple of spoonful’s of the jam (which is great because it’s full of brain healthy chia seeds) but they will not budge on the maple syrup and still get a small drizzle over the top of everything which works out just fine. And the best part? They aren’t hungry five minutes after eating waffles and NO sugar crash!!
And these new waffles?? Scrumptious. Filling. And delicious.
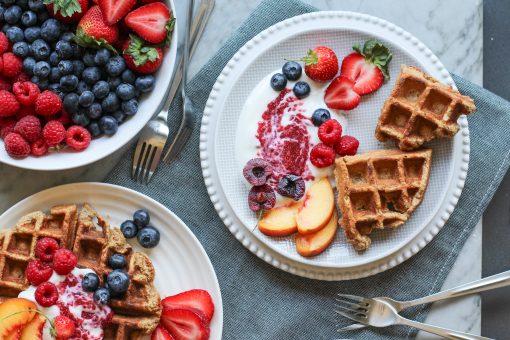
Hope you enjoy some PB & CJ (peanut butter & chia jam) Waffles soon!!
XO,
Jenn
peanut butter and chia jam waffles
makes about 8 waffles
1 1/2 cups rolled oats
3 tablespoons ground flaxmeal
3 tablespoons cornstarch
1 1/2 teaspoon baking powder
1 teaspoon cinnamon
1/2 cup yogurt (greek, almond or coconut)
1/4 cup unsweetened Apple sauce
1/4 cup peanut butter (or your favorite nut or seed butter)
2 eggs
1 teaspoon vanilla
1/2 cup unsweetened almond milk (or favorite non-dairy or dairy milk)
Preheat your waffle iron. Place the oats into a food processor and pulse until the oats become a flour consistency. Add the flax, cornstarch, baking powder, cinnamon and yogurt to the food processor and pulse to combine. Add the remaining ingredients and pulse until everything just comes together.
Lightly spray your waffle iron with some cooking spray. Ladle or scoop about 1/2 cup of the waffle mixture onto your iron and cook until the waffles are crispy and golden brown. Repeat with remaining batter until all the waffle batter has been used.
raspberry chia jam
recipe from the kitchn
makes 1 1/2 – 2 cups
2 cups raspberries
1 to 2 tablespoons honey or maple syrup, optional
2 tablespoons chia seeds, plus more if needed
Transfer the fruit to a saucepan and set over medium heat. Cook until the fruit breaks down and becomes syrupy, about 5-10 minutes, depending on the fruit. Remove from the heat. Mash the fruit with the back of a spatula or with a potato masher, leaving it as smooth or as lumpy as you like.
If you are adding sweetener to the fruit, you can stir it in now. (I usually taste the fruit first because most times the fruit is sweet enough.) Stir in the chia seeds.
Let the mixture stand for 5 minutes, until thickened. This won’t quite reach the firm consistency of regular jam, but it will noticeably thicken. If you’d like a thicker consistency, stir in more chia seeds, 1 teaspoon at a time.
Once the jam has cooled to room temperature, transfer it to a jar or other storage container. Store in the fridge for up to two weeks. The jam will thicken further and become more set once completely chilled.
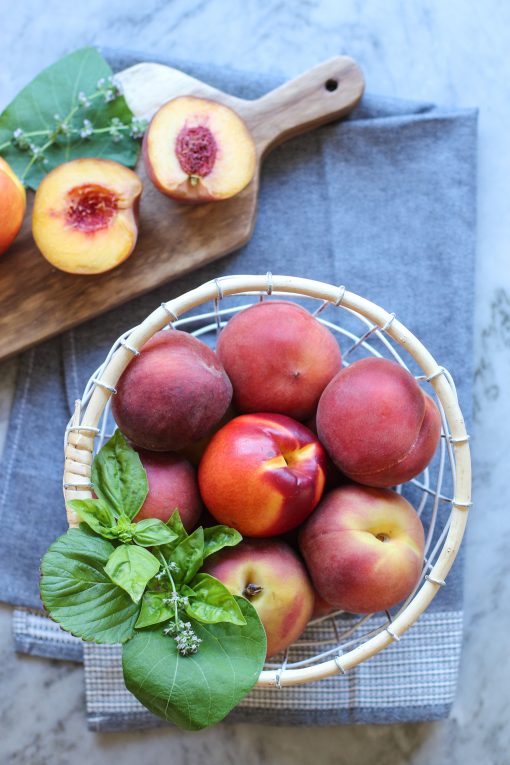
my notes: You can use any berries or stone fruit to make this jam. If using something besides raspberries, make sure to remove any stem, pits, seeds, and skins, as needed. You will also need to chop larger fruit into smaller pieces.






Leave a Reply