This week started by me asking the hubby if we could add-on to the garden.
Well, to be honest, the conversation was a little more in depth than just a simple question. There may have been a mention of ripping up part of the driveway (eek) and building more raised beds (double eek) so I guess it wasn’t as innocent as just adding-on to the garden. But who really needs or uses a driveway anyway??
*tries to smile convincingly at husband
**then tells him the following story…
After a few years playing with our garden, I seem to have figured out where, when, and how to get food to grow out of the ground, and in such a way that we can actually EAT it. I know, it sounds funny when I say it that way, but it’s true. The first year the garden was in the wrong spot – not enough sun. So we dug up and moved the raised beds to the side of the house and we’ve been growing at 110% ever since.
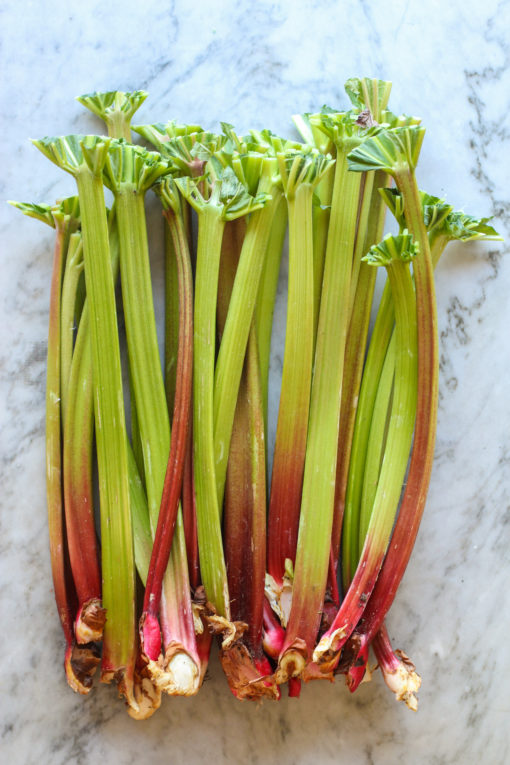
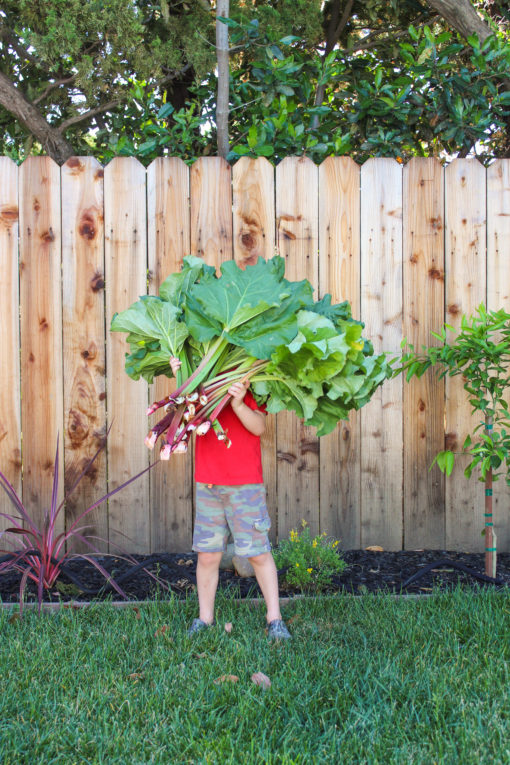
Well, except for this rhubarb that you see above. Let me start by saying I have cooked a lot of rhubarb in my time. But I have never grown it and had actually never even seen it growing in a garden. So one day, when I was at my local hardware store, I looked up and saw a rack of rhubarb plants for sale. And never being one to shy away from a challenge (or a plant that needed a good home) I bought one plant and brought it home to be with the others. I planted the rhubarb plant next to the strawberries and never did much more but water it when it was time to water the garden.
Almost over night this little rhubarb plant went from one to three (!!) plants, taking up a lot of precious space in my already way too small garden bed. Every day this little rhubarb plant was stretching and reaching it’s leaves up and out to catch more and more of the hot summer sun. In return for all the space it took up, it shaded the pea sprouts and the onion seedlings as they started to grow – each plant using the other and creating a little garden community. Rhubarb became a conversation. It was on my mind. I started to dream in rhubarb.
And then we had the wettest winter in something like five years. It rained and rained and RAINED. It was cold, the plants froze, and one by one the rhubarb lost every single branch. I was really sad because I thought we were on the road to a most amazing rhubarb harvest and then nothing. It was negative nothing. There were just wet, soggy, and dead branches that had to go into the compost bin everyday.
So I moved on, planned out the spring planting design in each bed, added new soil and compost, and then just waited for the soil to warm enough to begin planting again.
And one warm spring morning as I headed out to check the soil…well, what would you know? There was a little sprig of rhubarb plant sticking out of the ground, right in the same spot that the other plant had died. After I saw that, I was just so happy! The little plant that could, not only weathered the winter storms but came back even bigger and better than ever before!!
You guys look at this picture of my five year old holding our first rhubarb harvest:
Sure, he’s on the smaller side, but dang! That’s a lot of rhubarb!!
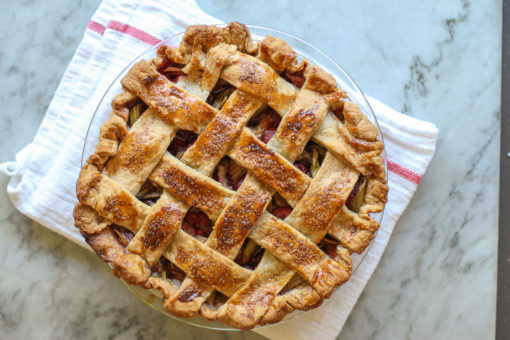
Rhubarb everything was on the menu, but first up – and most importantly – PIE.
Pie, pie, pie, pie, PPPPPPIIIIIIEEE!!!!
Gotta make some pie.
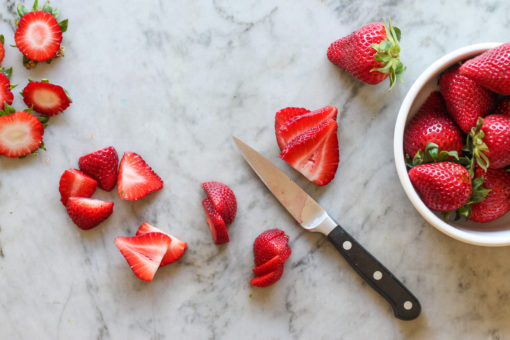
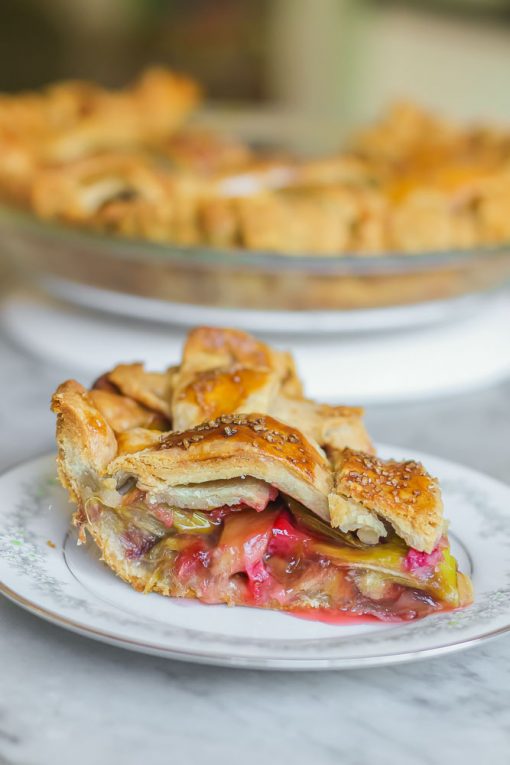
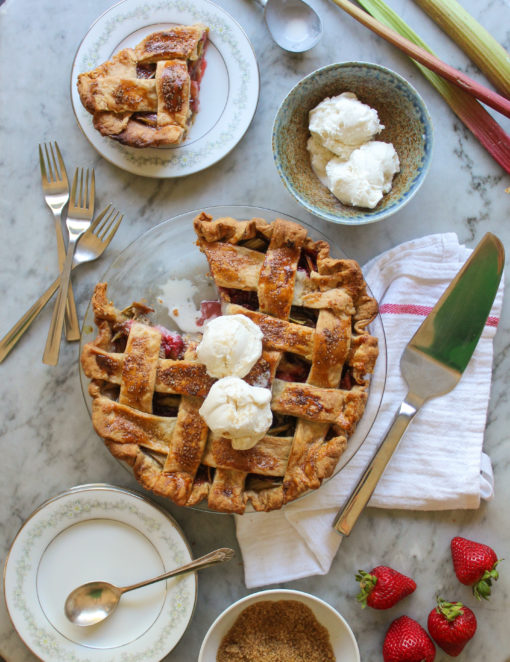
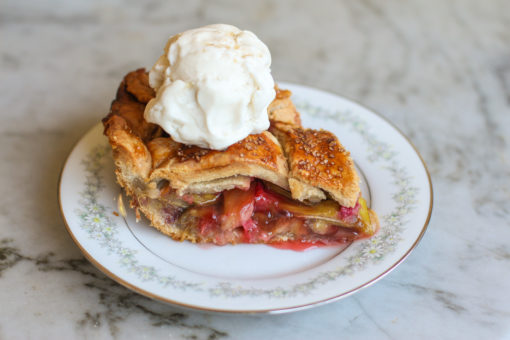
I used the same pie crust recipe that I’ve used for years because it’s foolproof and comes out of the oven golden brown, flaky, crispy and holds all the filling without getting soggy. The filling is super simple – sliced rhubarb, fresh strawberries, a bit of sugar, some cornstarch and a vanilla bean.
Place everything in the oven and just wait until the most decadent smell takes over your house and your kids come running into the kitchen asking, “what’s that smell?” and once they discover it’s a pie, they start to chant “PIE! PIE! PIE! WE WANT SOME PIE!” as they dance around and laugh which makes you laugh because really, how can you NOT laugh and then it will just be the best day ever because…(say it with me)…PIE.
Now can you see why I need a bigger garden plot? I need more fruit to put into…PIE.
*still tries to smile convincingly at husband
**husband asks for taste of pie
***pie is awesome
****we are getting more garden beds
*****because of this PIE
Feel free to use this pie to talk your significant others into doing things for you too. So far it’s worked for new garden beds, folding the laundry and putting the kids to bed – because how can I do those things if I’m making more pie??!?
XO,
Jenn
strawberry rhubarb lattice pie
makes one 9 inch pie
one batch pie dough (recipe can be found here)
1 3/4 pounds rhubarb, cut into 3/4 inch thick pieces (about 6 cups)
6 ounces strawberries, coarsely chopped (about 1 cup)
1 1/2 cups granulated sugar
2 tablespoons cornstarch
pinch of salt
1 vanilla bean, split and seeds scraped
1 egg yolk
3 tablespoons milk
turbinado sugar
Preheat your oven to 425 degrees and place a rack in the center of your oven.
Place the pie dough onto a lightly floured surface. Cut the dough in half and place one half into the fridge while you roll out the other piece. Roll the pie dough into a circle, about 1/8 inch thick. Place the dough into the bottom of a 9 inch pie plate, trimming any long edges. Place the dough into the fridge while you make the lattice strips.
Bring out the other half of dough and roll it into a rectangle, about 1/8 inch thick. Using a ruler or other straight-edge instrument (I used a baking sheet), cut the dough into 1 1/2 – 2 inch thick slices. Continue to roll and cut until you have eight lattice strips. Place these into the fridge while you make the filling.
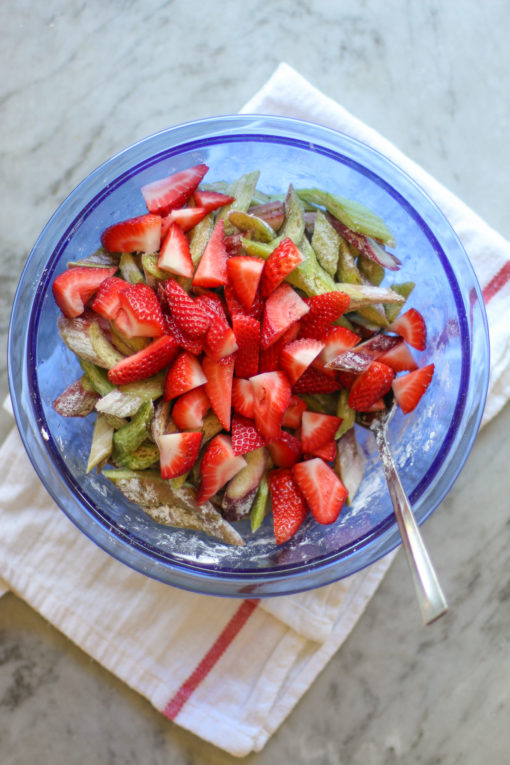
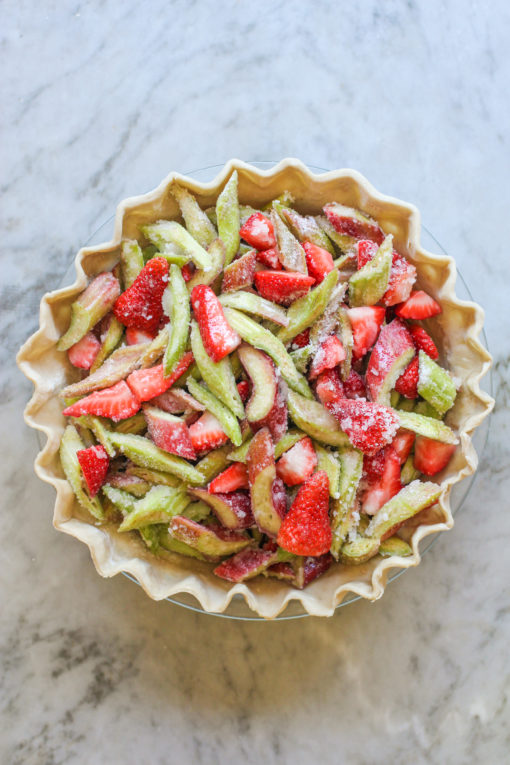
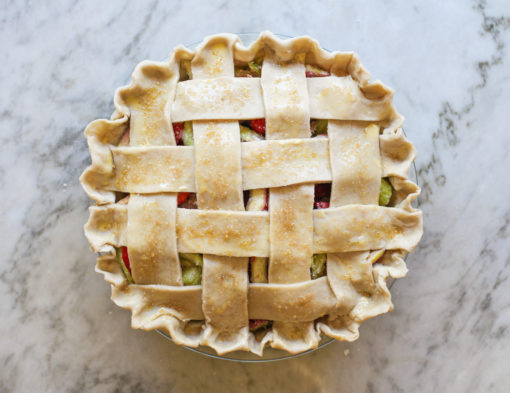
In a large bowl, combine the strawberries, rhubarb, sugar, cornstarch, salt, and vanilla bean seeds. Stir gently to combine. Pour the filling into the prepared pie pan. Remove the lattice strips from the fridge and place four strips vertically onto the top of the pie. Space the strips as evenly as possible. Take an additional strip and weave it in and out until you make a “quilt” pattern (see pictures above.) Continue weaving the strips in and out until all strips have been placed on top of the pie.
Pinch the edges of the pie dough together using your fingers or a fork until the edges have completely sealed.
In a small bowl, whisk the egg yolk and milk together. Using a pastry brush, brush a little bit of the egg wash all over the exposed pie dough. Sprinkle with turbinado sugar.
Place the pie on a parchment lined baking sheet and then place it into the oven to bake for 25 minutes. Rotate the pie and reduce oven temperature to 375 degrees. Continue to bake until the crust is deep golden brown and filling is bubbling, 30 – 40 minutes. If the edges or top of the pie begin to get too brown before the pie is done, cover loosely with foil.
Let the pie cool on a rack for about 1 hour before serving.










Leave a Reply