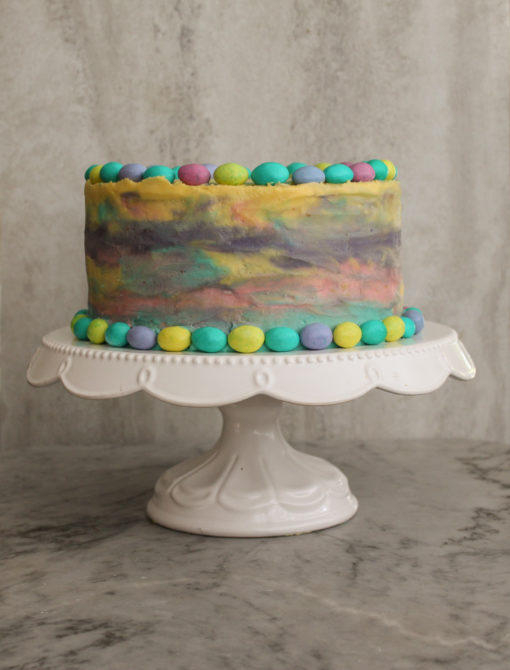
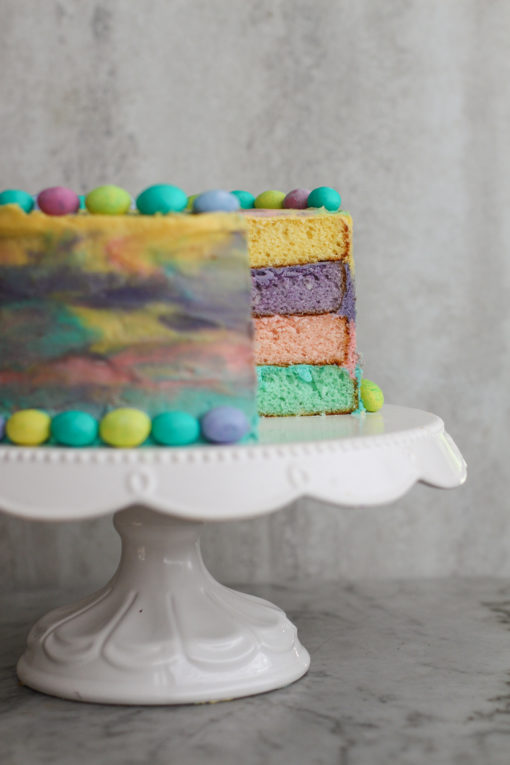
It’s a spring cake, it’s an Easter cake, I guess it could even be a baby shower or gender-reveal party cake – but it’s definitely a delicious cake!!
Thanks to all of the rainy and cold weather, we’ve all been stuck in the house and might I politely say, starting to get on each others nerves just a bit. So after days filled with puddle-jumping, lego-building, movie-watching, and dress-up parties – it was time to get into the kitchen and make something fun with the kids and that something was this cake.
The inspiration for this cake came from a bag of chocolate covered peanut candies – they had just the right color palate to brighten up another rainy day and the kids were super excited to both eat the candies and to try to match the colors of the candy to the cake and frosting.
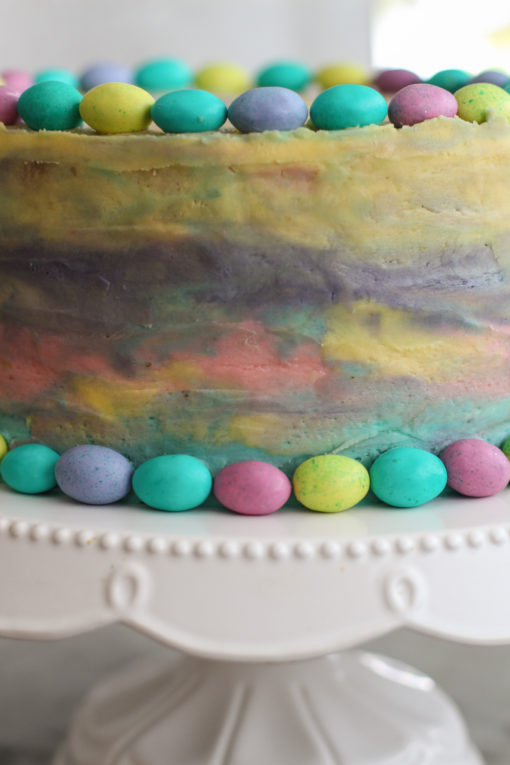
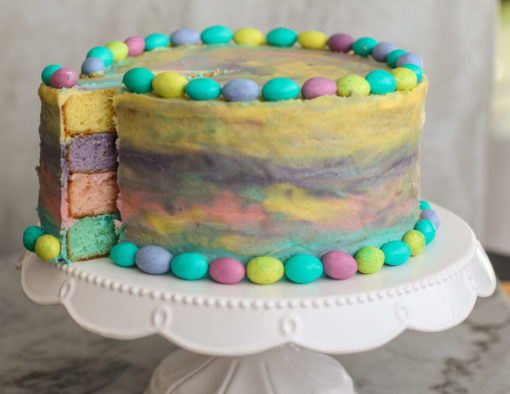
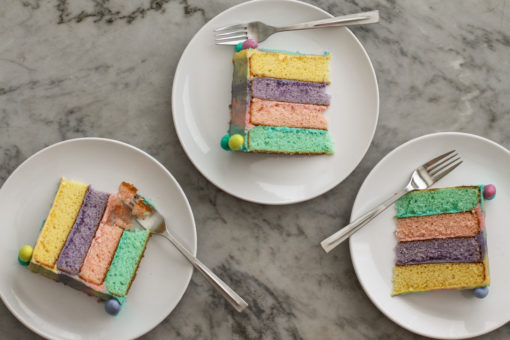
The cake comes together very easily – just a white cake recipe, divided, and mixed with pastel colors to form the layers. The frosting is the same – a whipped buttercream that is both light and fluffy, and super creamy. Because the kids were helping me decorate, we decided to go with a marble-y effect on the frosting and divided and mixed the same colors that we used in the cake for the frosting – but you could just pick one color frosting or go with an all-white frosted cake for a different, maybe more elegant effect.
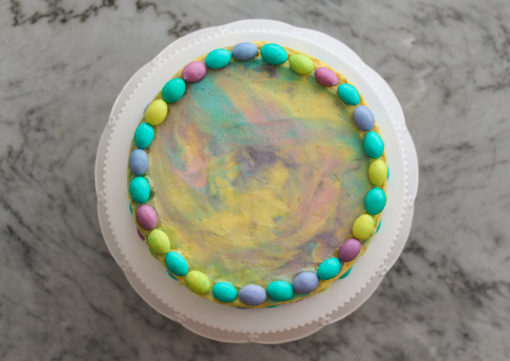
We took turns dabbing frosting blobs on the cake in different colors – and then spread them all together using the back of an off-set spatula. It would seem like a lot of work, but honestly it was really easy, and lots of fun. The kids got to tell me which color they thought they should add next – and then we topped the cake with some of those chocolate candy eggs, all in a pretty little circle.
And there you have it – a rainy day celebration cake!! Or a “stop fighting with your brother/sister” cake!! Or a “mom just needs a slice of cake” cake!! Whatever you call it, it is delicious!
XO,
Jenn
pastel layer cake
***this recipe makes enough for a two layer cake – if you want to make the four layer pastel cake then you will need to double the recipe below***
1 cup granulated sugar
1/2 cup butter
2 eggs
2 teaspoons vanilla
1 1/2 cup all purpose flour
1 3/4 teaspoons baking powder
1/2 cup milk
food coloring – yellow, purple, pink, green (I use this kind – they are gel based and really hold color well)
Preheat oven to 350 degrees. Grease and flour two 9×9 inch round cake pan.
In a medium bowl, cream together the sugar and butter. Beat in the eggs, one at a time, then stir in the vanilla. Combine flour and baking powder, add to the creamed mixture and mix well. Finally stir in the milk until batter is smooth.
Separate the batter into two portions. Add two drops of purple food coloring to one batch and stir to combine. Add two drops of the blue food coloring to the other batch and stir to combine. Pour or spoon batter into the prepared pans.
Bake for 30 to 40 minutes in the preheated oven. Cake is done when it springs back to the touch.
Repeat each step two more times – using different colors to achieve the rainbow cake layers.
Allow all cakes to cool completely before frosting.
vanilla buttercream frosting
***this recipe makes enough frosting for a two layer cake with a bit left over. If you want to make the pastel layer cake, double this recipe so you have enough for all the layers and the outside of the cake.***
1 cup butter, at room temperature
1 teaspoon vanilla extract
3 cups powdered sugar
2 tablespoons milk
food coloring – yellow, purple, pink and green (I use this kind – they are gel based and really hold color well)
optional – pastel chocolate filled easter eggs (I used these)
In a stand mixer fitted with the paddle attachment, beat the butter on medium-high for two minutes. Add the vanilla extract, powdered sugar and milk to the butter and beat everything together for about five minutes on medium-high – until light and fluffy.
Separate the icing evenly into four bowls. Add one drop of the yellow food coloring to one bowl and stir thoroughly to combine. If the yellow color is too pale for your liking, add one more drop of yellow food coloring to the bowl and stir thoroughly to combine. Once you achieve the yellow you like, continue with the same pattern and same amount of dye to make one bowl of yellow frosting, one bowl of purple frosting, etc.
To achieve the marble-y color pattern with the frosting like the cake above – take a small amount of purple frosting and dollop onto the side of the cake. Continue with the purple frosting here and there, all around the cake, and the top as well. Then take a small about of yellow frosting and dollop onto the side and top of the cake – either next too or close to the purple. Repeat with the blue and green frostings until you have a good amount of dollops all over the cake, then use the back of an offset spatula to smooth all the sides and top.
If using the candy eggs, place them in a ring around the top and bottom of the cake – or make any pattern that you like.




Leave a Reply